12 Jan 2026 • Reading Time:3min
Measure Twice, Order Once: The Essential Guide to Sizing Your Custom Gun Safe
Ordering a custom gun safe is exciting, but a mistake in measurement can turn installation into a logistical nightmare. Unlike buying a piece of furniture, a modern gun safe or vault, especially those made of heavy-gauge steel, cannot simply be lifted over a tight corner.
The core principle of measurement involves three distinct phases: The Placement, The Access, and The Path. Failing to account for any of these can lead to a safe that fits your room but not your front door, or a safe that fits your door but blocks essential access once installed.
Phase 1: The Placement – Defining the Final Resting Spot
This phase determines the maximum dimensions of the safe itself. You must always measure the minimum space available and then build in a small clearance buffer.
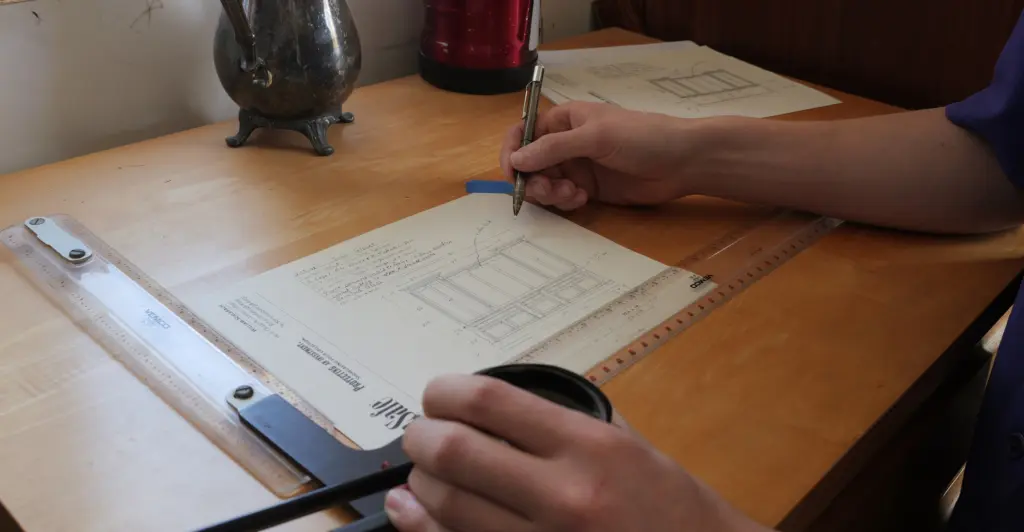
1. The Room Dimensions (H x W x D)
Measure the actual area where the safe will sit, being extremely precise about the following:
- Height: Measure from the floor to the lowest obstruction (ceiling, overhead shelving, ductwork, etc.).
- Pro Tip: Subtract 2 inches (5 cm) from this measurement. This ensures proper clearance for leveling the safe and allows essential airflow for integrated climate control systems (such as dehumidifiers).
- Width: Measure the full side-to-side distance. Account for baseboards, heating vents, or adjacent doorways.
- Depth: Measure from the back wall forward. This determines the maximum depth of the safe body.
2. Clearance for Door Swing
This is the most common mistake. The safe’s depth is not just the depth of the box; it’s the space the safe occupies when the door is open.
- Door Opening Distance: Determine how far the door must swing (90 to 180 degree). Measure the maximum distance from the hinged side of the safe’s placement to the edge of the door when fully open.
- Handle and Lock Projection: The handle, electronic keypad, and hinges add external depth. Ensure your depth measurement includes these projections, which can easily add 3 to 4 inches (7-10 cm) beyond the safe’s body.
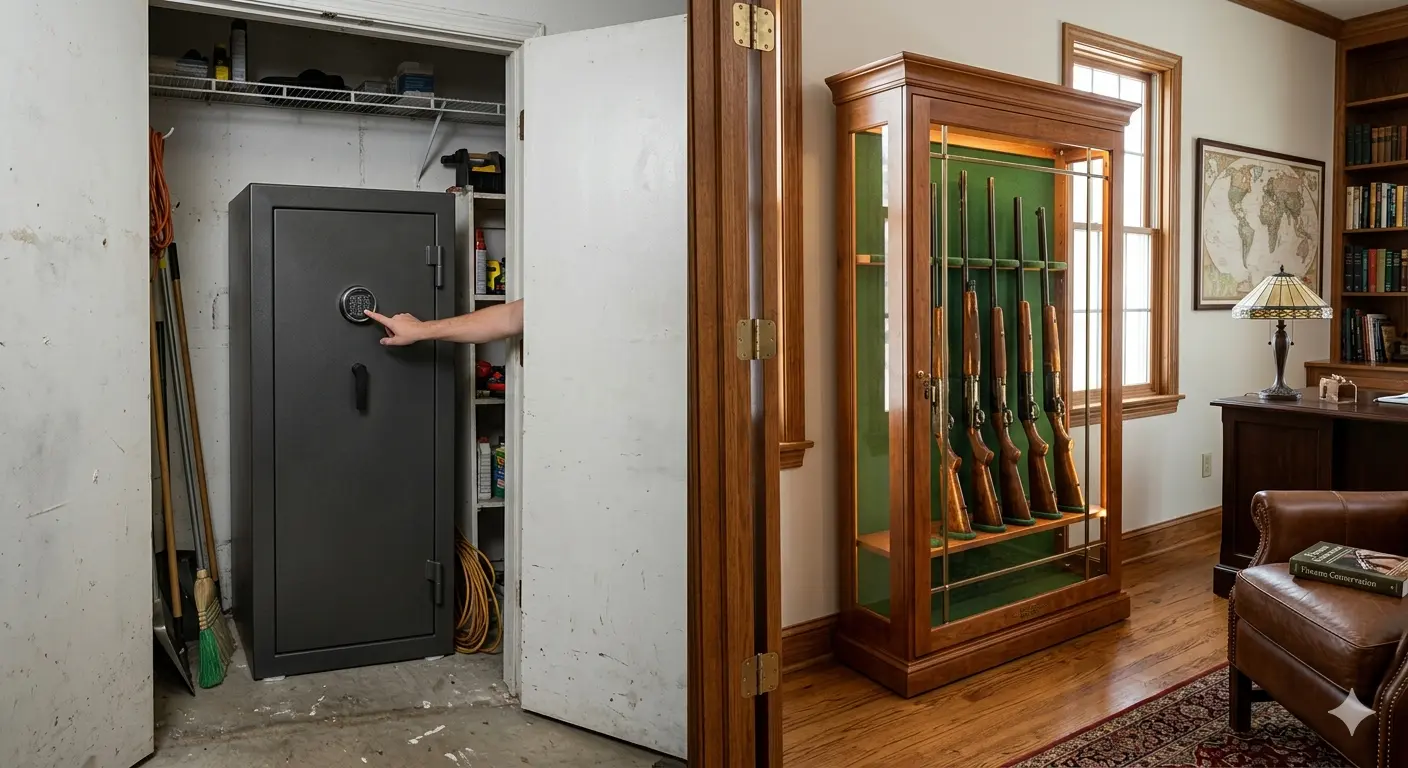
Phase 2: The Path – Ensuring Delivery is Possible
If you’re ordering a heavy, welded steel safe (not a modular break-down unit), you must treat the safe as an unbendable monolith. The safe’s dimensions cannot exceed the narrowest point of its journey.
1. Map the Route
Walk the safe’s entire route, from the delivery truck (or loading dock) to the final room.
- Entry Doors: Measure the height and width of all door frames it must pass through. Remove the door frame trim if necessary to maximize clearance.
- Hallways and Corners: Measure the narrowest width of any hallway. For tight 90-degree turns, the diagonal measurement of the safe often becomes the limiting factor.
- Elevators (If Applicable): Measure the interior height, depth, and door width of any elevator.
2. Staircase and Vertical Obstacles
Staircases are notoriously difficult. You need two critical measurements:
- Stair Width: The clear, usable width of the stairs.
- Ceiling Height: Measure the vertical clearance above the stairs. If the safe needs to be tilted to fit under a low ceiling or navigate a landing, you must confirm the safe’s diagonal length will fit in the tilted position.
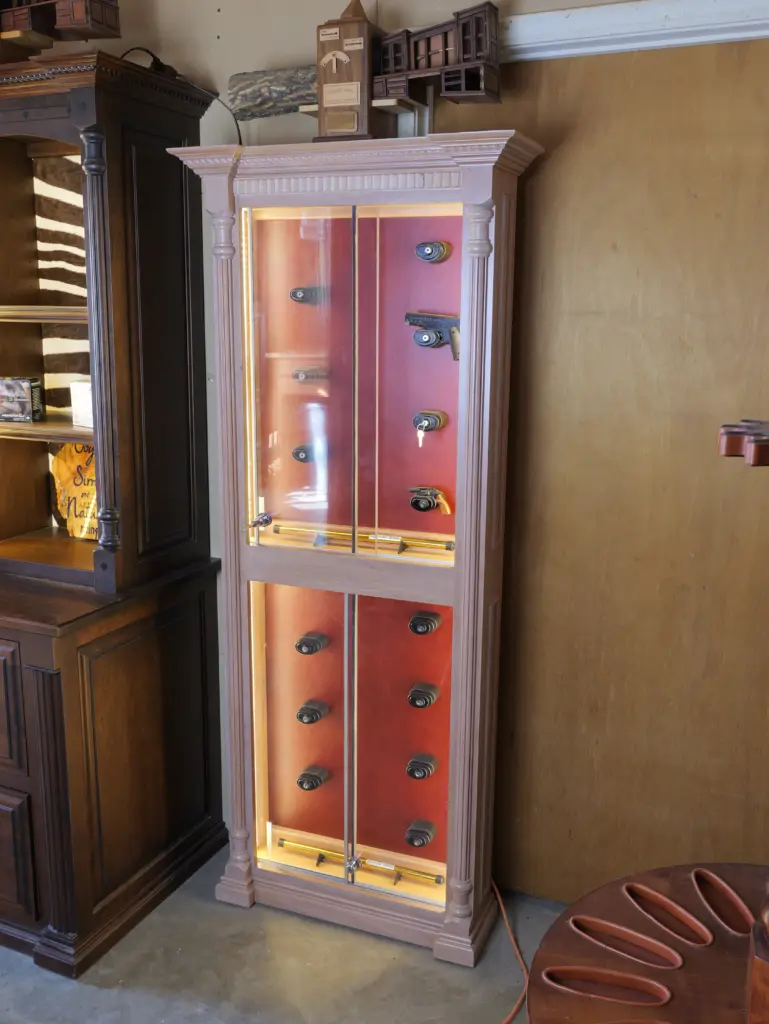
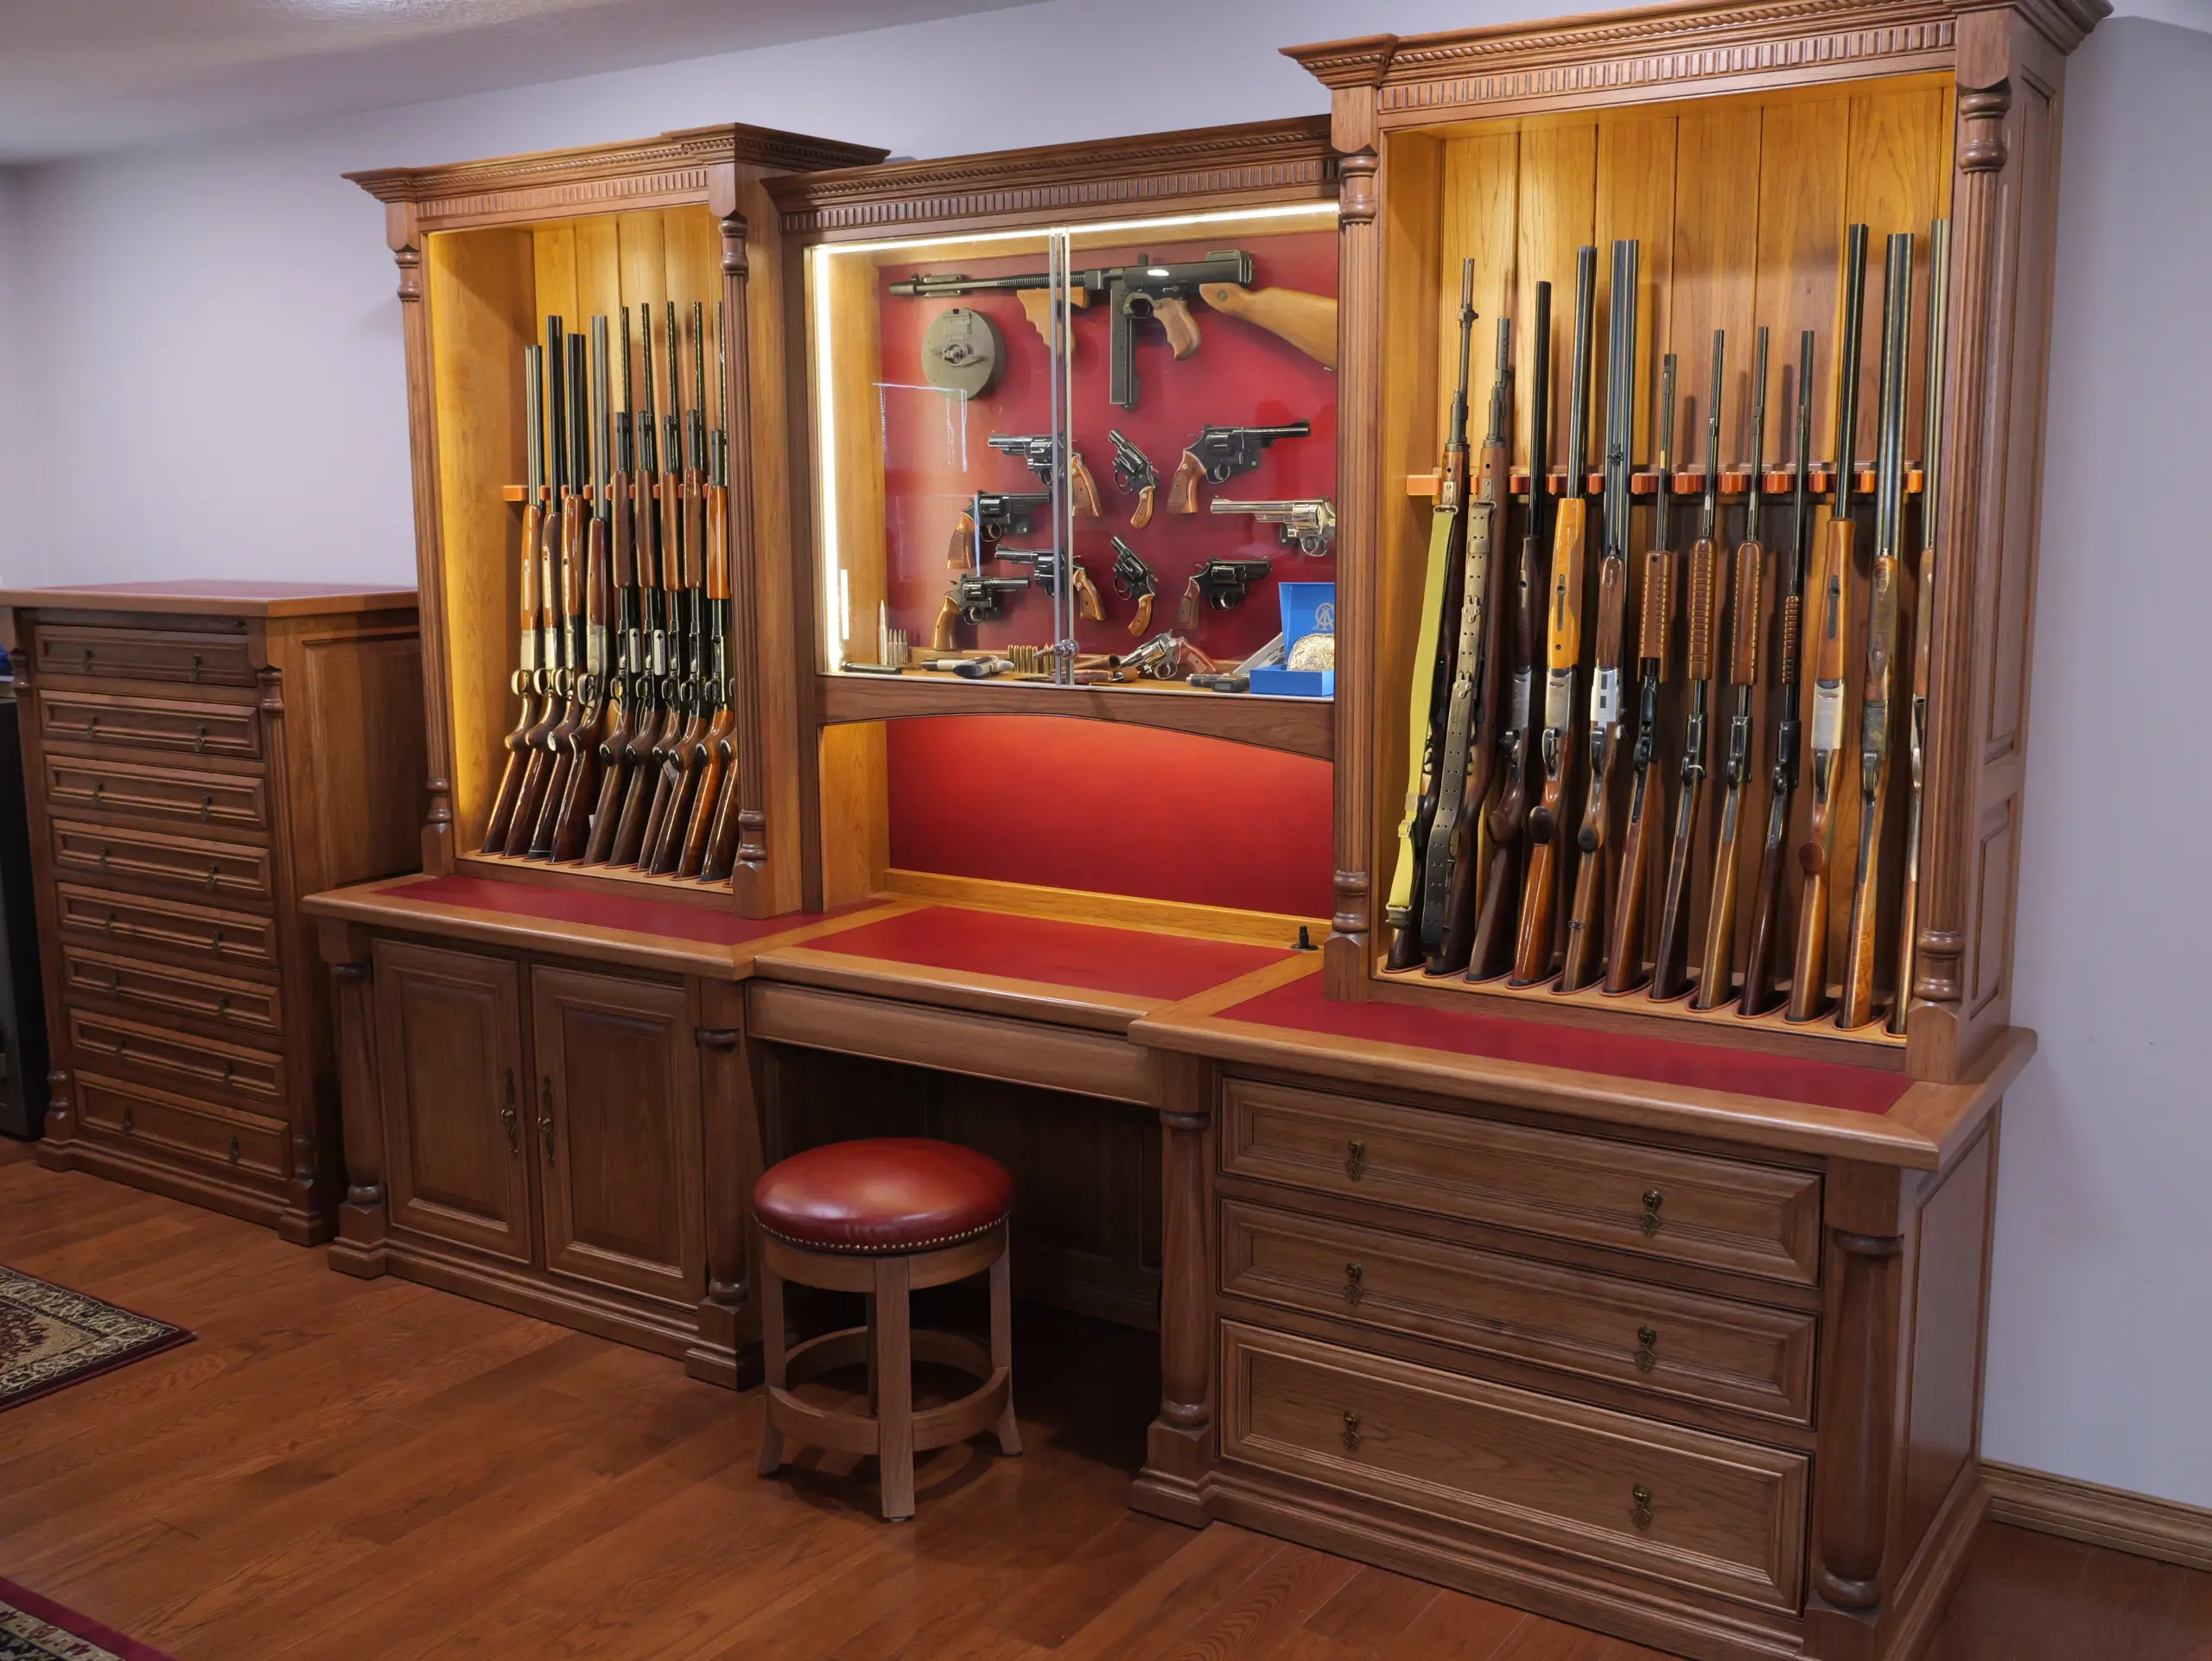
Phase 3: The Interior – Measuring for Your Collection
While your builder handles the fabrication, you must provide the essential inputs for internal layout and modularity.
- Long Gun Dimensions: For rifles and shotguns, measure the height of your longest firearm (with and without the stock base) and the total width required for all optics and accessories (like mounted scopes). This ensures proper barrel clearance and cradle spacing.
- Ammunition & Gear: Determine the required square footage for ammunition, documents, and other gear. This informs the designer on how many shelves, soft-lined drawers, or accessory pouches to include.
By meticulously documenting the Placement, Path, and Interior requirements, you ensure your custom safe not only looks perfect but also arrives safely and functions perfectly from day one.
Related Posts
View All
Uncategorized
Reading Time:11min
Custom Gun Safe vs. Off-the-Shelf Safe: Is Handcrafted Worth It for a Serious Collector?
Key Takeaways The Question Worth Asking Honestly “Is handcrafted worth it” is a question that deserves a direct answer, not
Read More

Uncategorized
Reading Time:16min
How to Control Humidity Inside a Wood Gun Cabinet (And Why It Matters for Your Firearms and the Wood Itself)
Key Takeaways The Problem That Never Announces Itself The most damaging thing that happens inside an improperly maintained gun cabinet
Read More
Uncategorized
Reading Time:11min
Pistol Display Cases vs. Gun Cabinets: Which Storage Solution Fits a Mixed Collection?
Key Takeaways The Storage Problem That Grows With the Collection Most gun collections do not start as mixed collections. A
Read More
